Clean the hidden parts of a travel lid
A clean cup can still have residue beneath its lid components. Learn which parts your particular lid is designed to release.
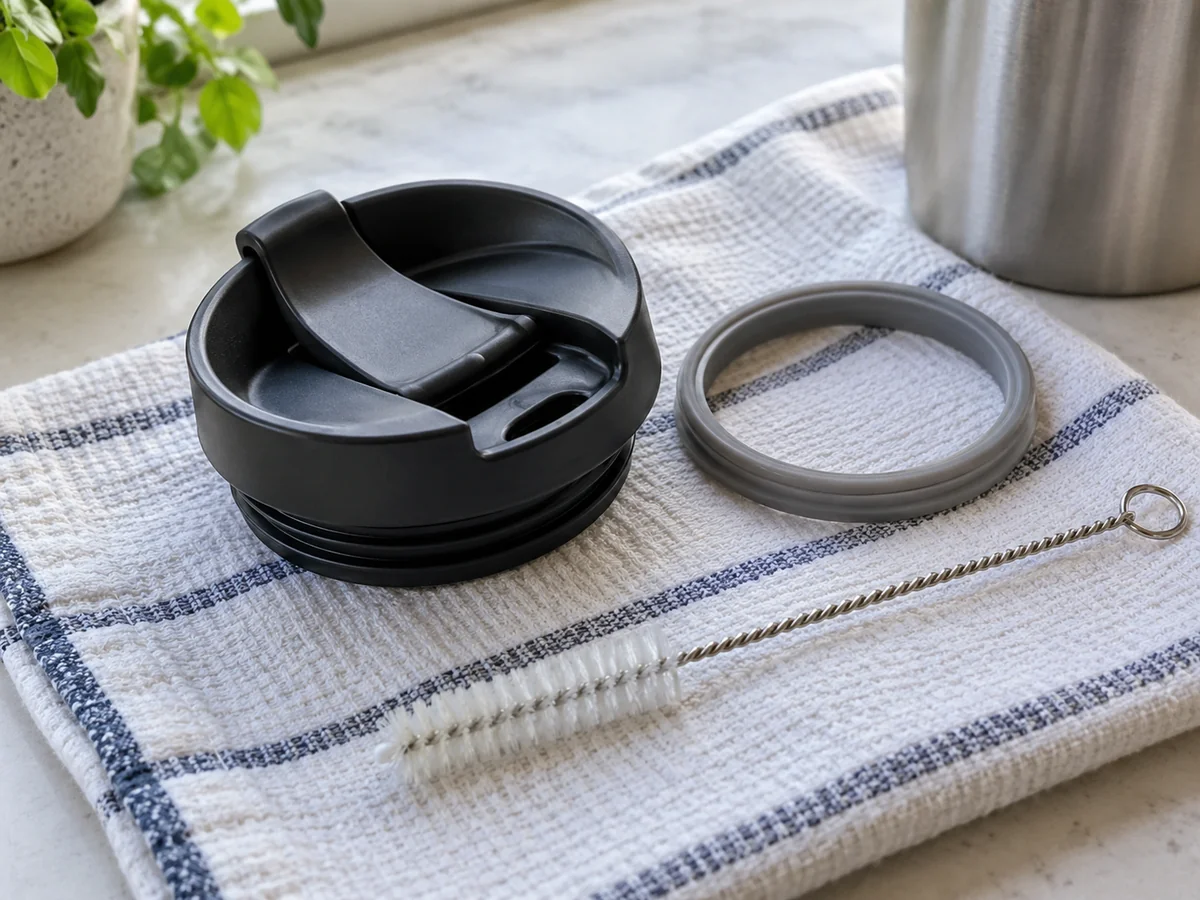
Find the instructions for the actual lid
Travel lids can contain sliders, seals, straws and small valves. Some parts are designed to come out for cleaning; others are not. Identify the model and read its instructions before prying at a component that looks removable. A guide for another lid from the same brand may describe a different mechanism.
Take a clear photograph before disassembly if the arrangement is unfamiliar. Work over a clean surface away from an open drain, and keep small parts together. This makes the routine easier without turning every wash into a search for a missing seal.
Reach the contact surfaces
Remove only the parts the maker specifies. Wash the exposed grooves, the underside of the lid and the drinking opening with the approved detergent and tools. A brush should fit the passage without being forced through it. Clean straws along their full internal length when the design includes them.
Do not assume a rinse across the assembled top reaches the underside of a gasket. Conversely, do not remove a tiny pressure valve simply because a larger seal elsewhere is removable. If the instructions are unclear, ask the maker rather than using a sharp tool.
Use the permitted washing method
Check which components are dishwasher safe and where they should be placed. A cup body may have different requirements from its lid or decoration. Small removable parts need to remain secure through the cycle. If hand washing, rinse thoroughly so detergent is not left in a narrow channel.
Avoid applying a boil, bleach soak or household cleaning mixture unless the manufacturer specifically permits that treatment for the relevant component. Different plastics, seals and coatings have different limits. A strong smell or visible buildup is a reason to clean properly and assess the parts, not to increase heat at random.
Dry, inspect and reassemble
Let all components dry in an open position as instructed. Inspect seals for cuts, distortion or persistent residue. Replace damaged parts with the correct compatible replacements; a seal that almost fits is not a reliable repair. Store the clean cup and lid in the arrangement the maker recommends, rather than trapping moisture inside.
Reinstall each part in the specified orientation and confirm that nothing is twisted or pinched. After reassembly, make a cautious check with cool water over a sink before trusting the cup with a hot drink or placing it near belongings. This checks your assembly, not every possible use condition. Regular cleaning is most effective when it includes the hidden surfaces and ends with the lid functioning as designed.