Give a sticker the right surface
Adhesive needs a suitable place to make contact. A clean-looking surface may still be textured, damp or incompatible.
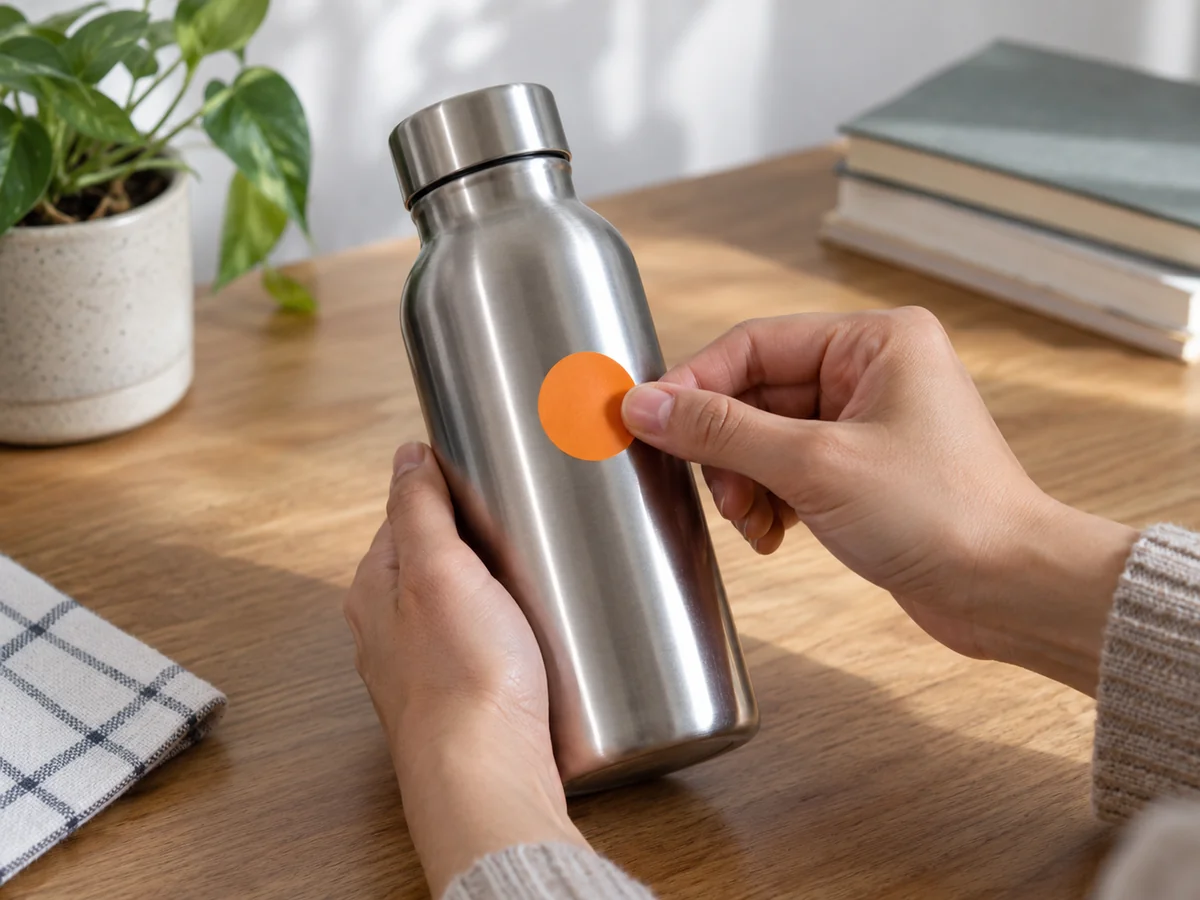
Choose the landing place before peeling
A sticker cannot make useful contact with every surface that looks flat in a photograph. Deep texture reduces the area touching the adhesive. A tightly curved bottle can pull at the edges of a large sticker. Soft-touch coatings and some plastics can be difficult for particular adhesives, even when they seem smooth. Check the manufacturer's recommended surfaces before committing a design to a favourite object.
Size matters here as much as material. A small sticker may sit neatly between a bottle's curved shoulder and base, while a broad rectangle bridges changes in shape. On a notebook, leaving space from the spine and corners can reduce repeated bending at the edge. Place the unpeeled sticker against the object first and check that lids, buttons and openings remain clear. Do not cover safety information, identification needed for use or ventilation slots.
Prepare the object within its own limits
Remove dust and ordinary dirt with a cleaning method permitted for the object. Let the area dry fully before applying the sticker. A surface wiped with a damp cloth can still hold moisture, particularly around seams. Do not reach automatically for alcohol or a strong solvent; those can damage finishes and are not compatible with every plastic, screen coating or painted surface.
Temperature and waiting time may also be specified by the adhesive maker. Apply indoors under the recommended conditions rather than immediately after bringing an icy bottle out of the fridge. If the instructions call for time before washing or outdoor exposure, leave that time. Pressing harder does not replace a suitable surface or the settling period the product requires.
Keep the first placement controlled
Peel only when you know where the sticker will go. For a simple flat surface, align one edge, bring the rest down gradually and smooth it using the method recommended for the material. Avoid repeatedly lifting a permanent sticker to chase a tiny alignment error. Fingers, dust and stretching can make the next attempt less successful. Large decals may require a different application method from a small decorative sticker.
If the sticker begins lifting, look at the reason rather than adding a layer of unrelated glue. The surface may be unsuitable, the design may be too large for the curve or an edge may sit where a hand rubs it constantly. Replace the sticker with a product intended for that use, or move the idea to a removable sleeve or accessory. A careful placement is satisfying because it works with the object, not because it wins a fight against an incompatible surface.
Further information